Create Jira
with Templating.app
Enterprise grade Jira templates for your team. Avoid repetitive work and save time.
Enterprise grade Jira templates for your team. Avoid repetitive work and save time.


Our app offers templating solutions for all relevant features in Jira Cloud. Here are some of the key features.
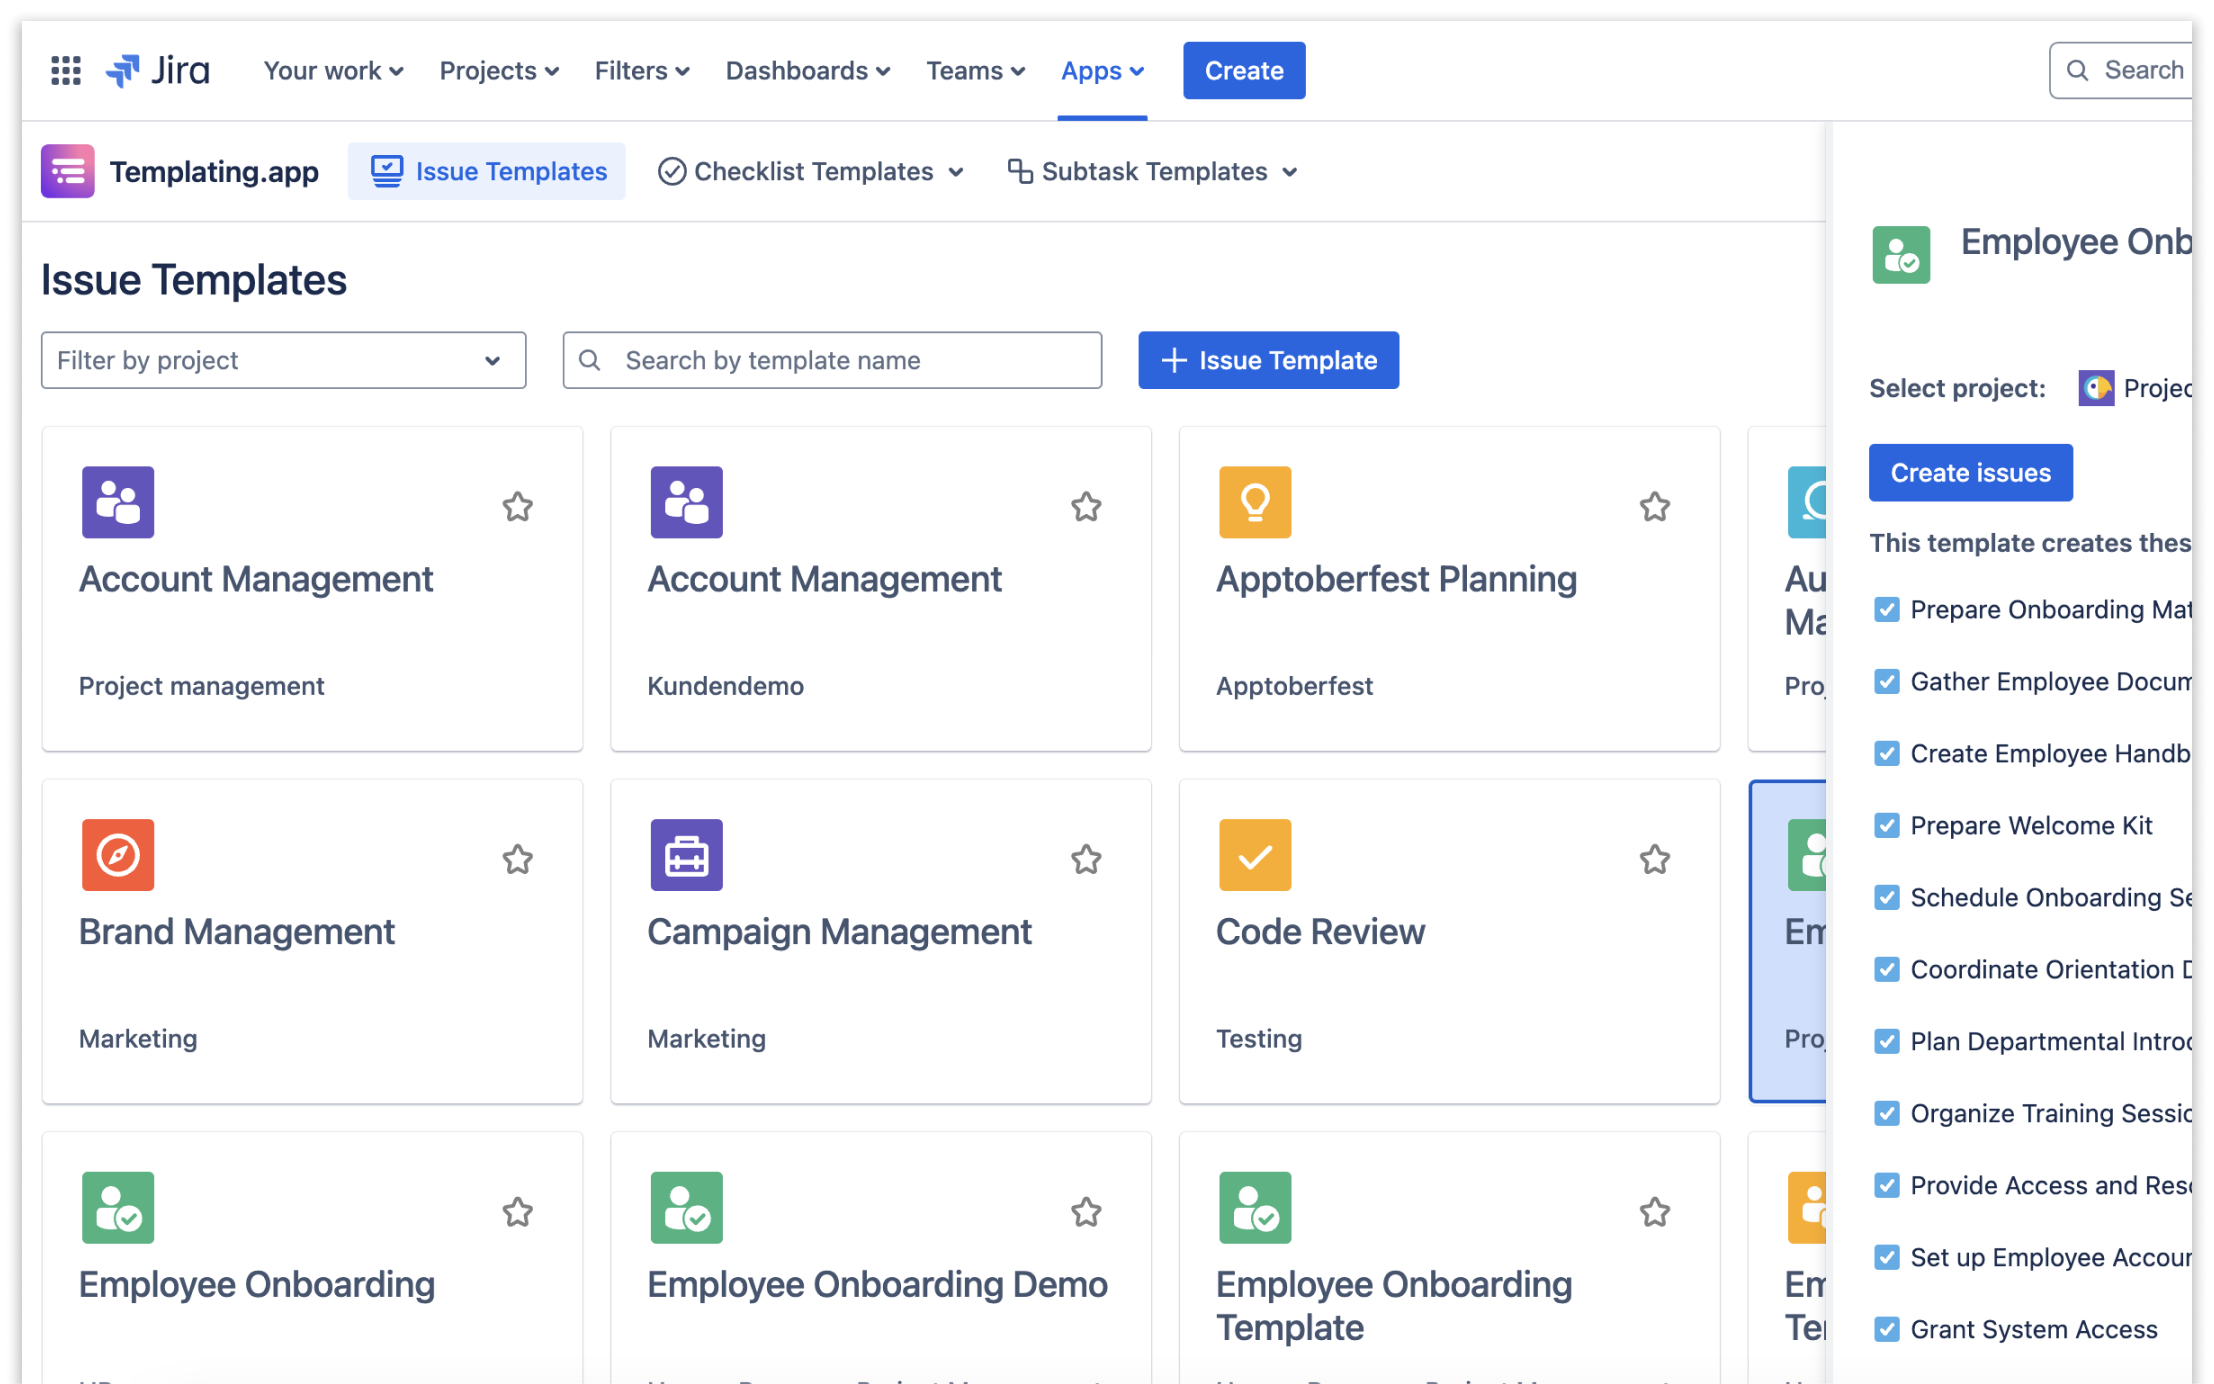
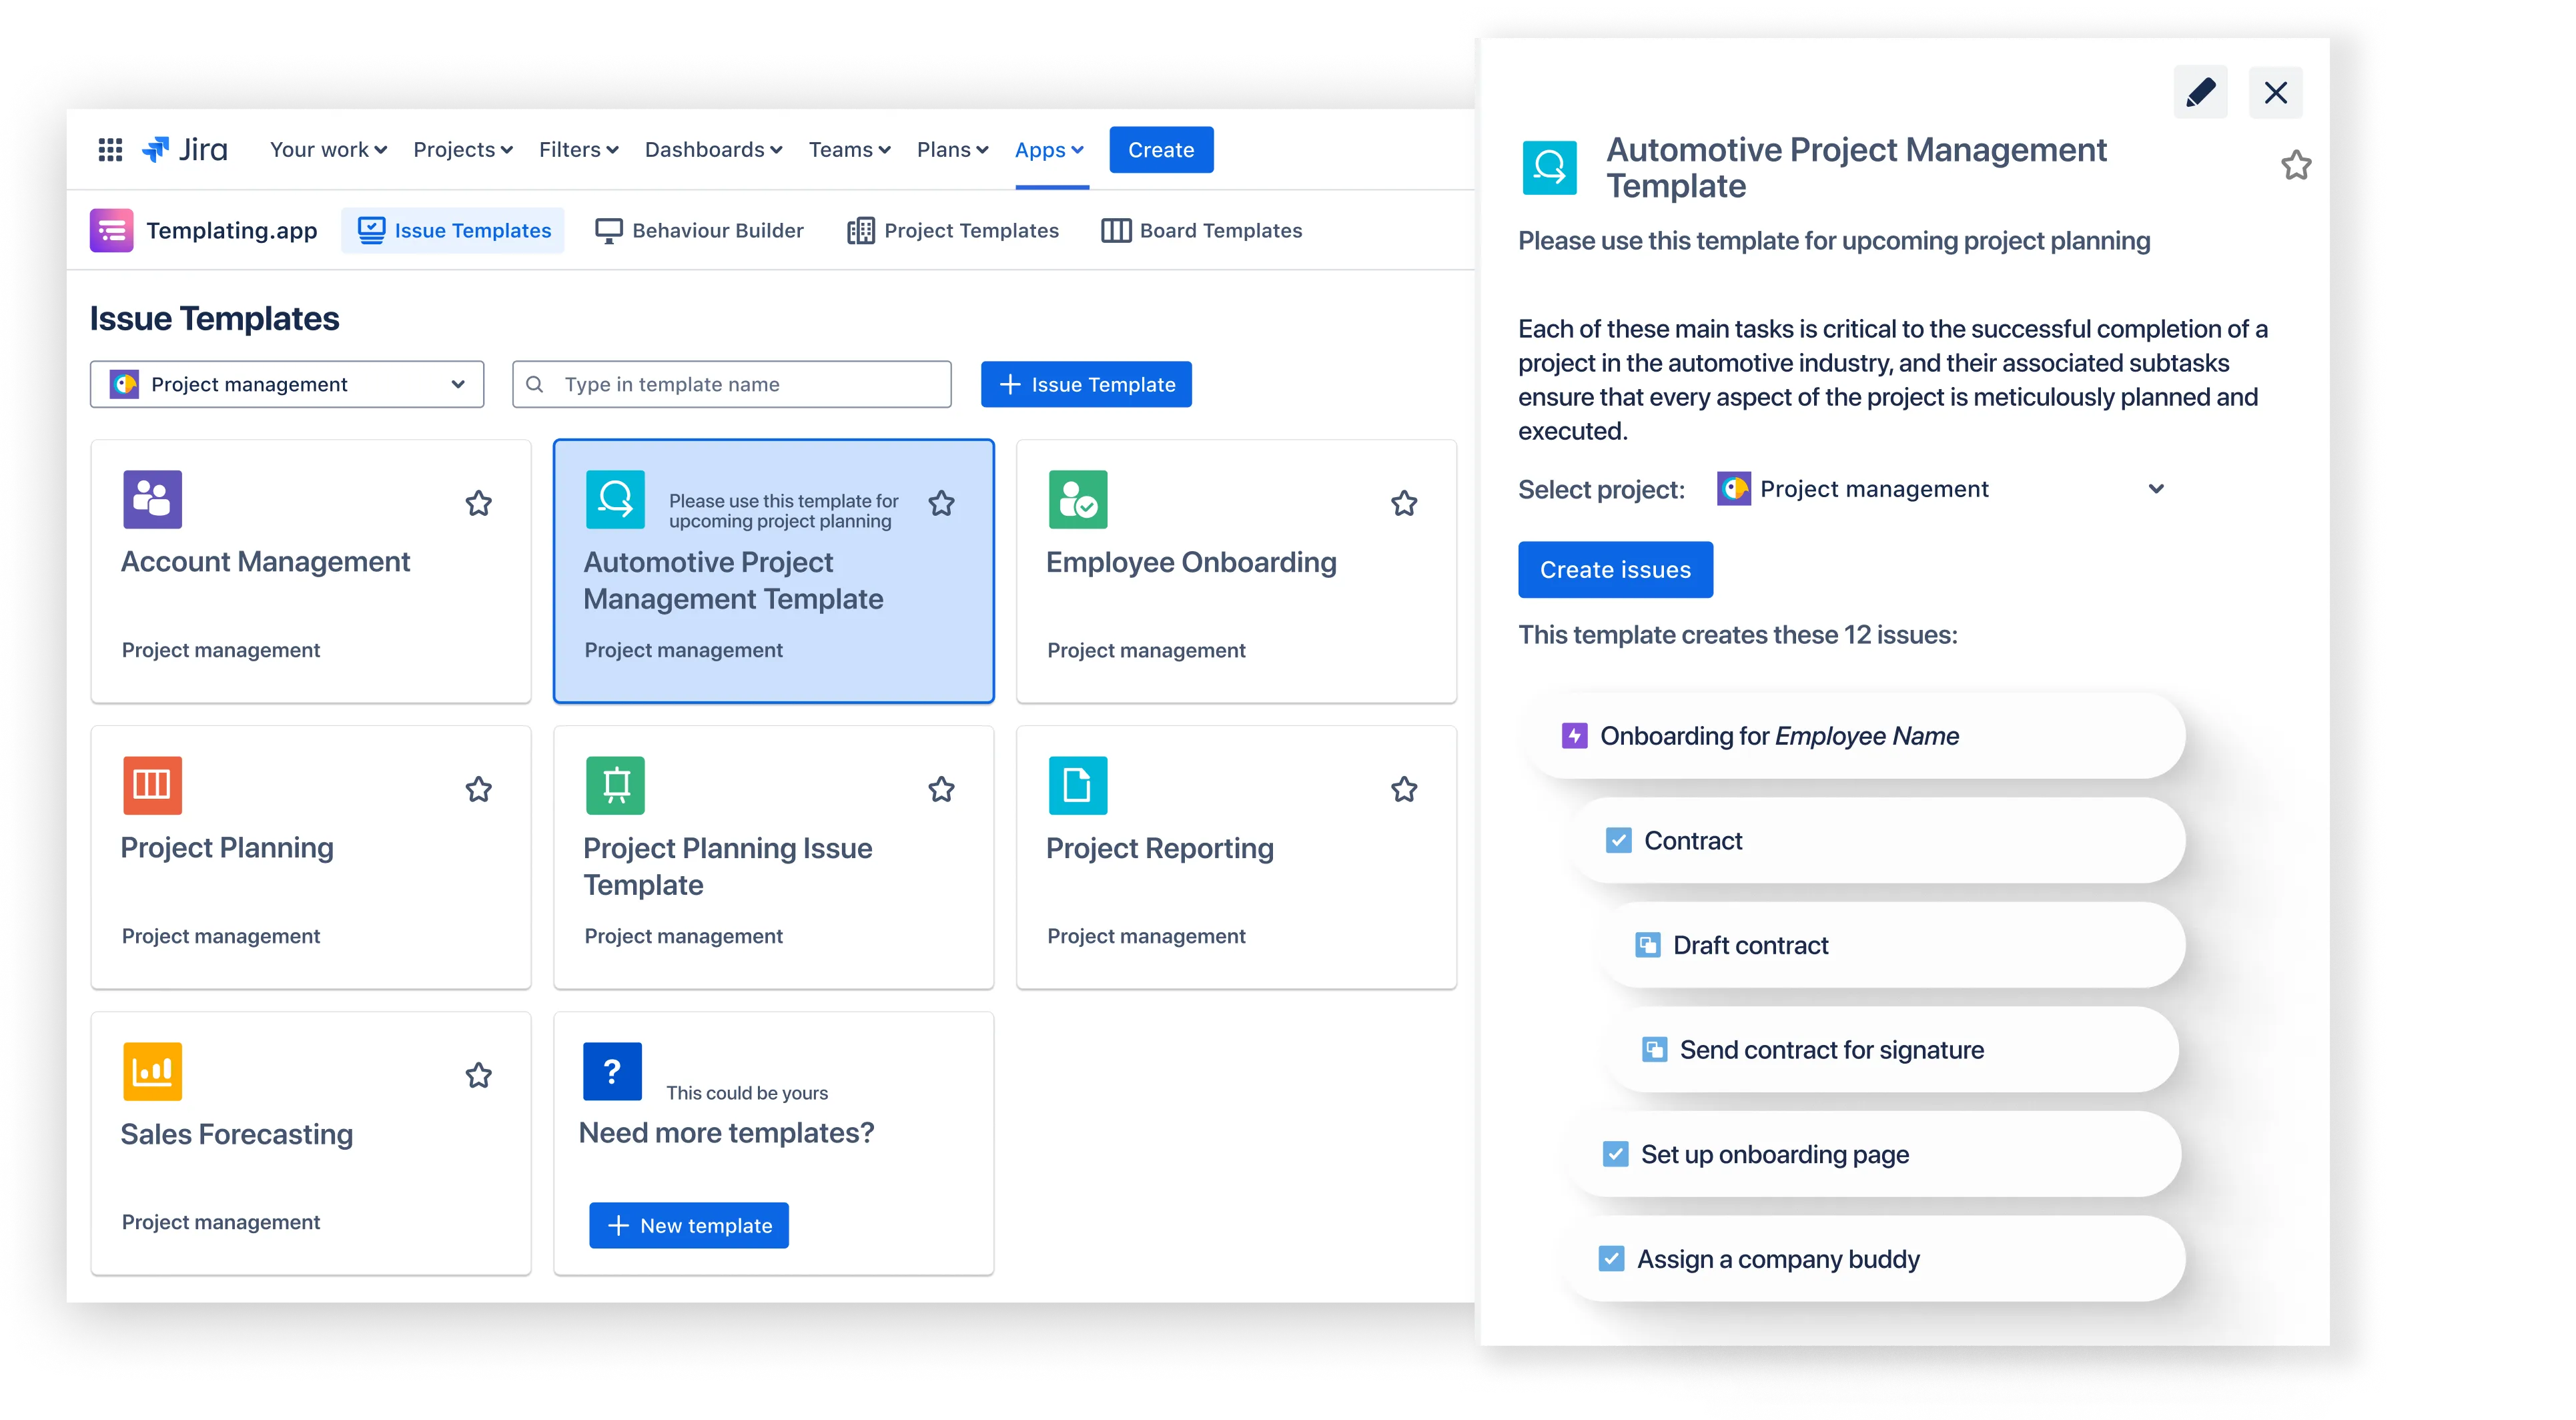
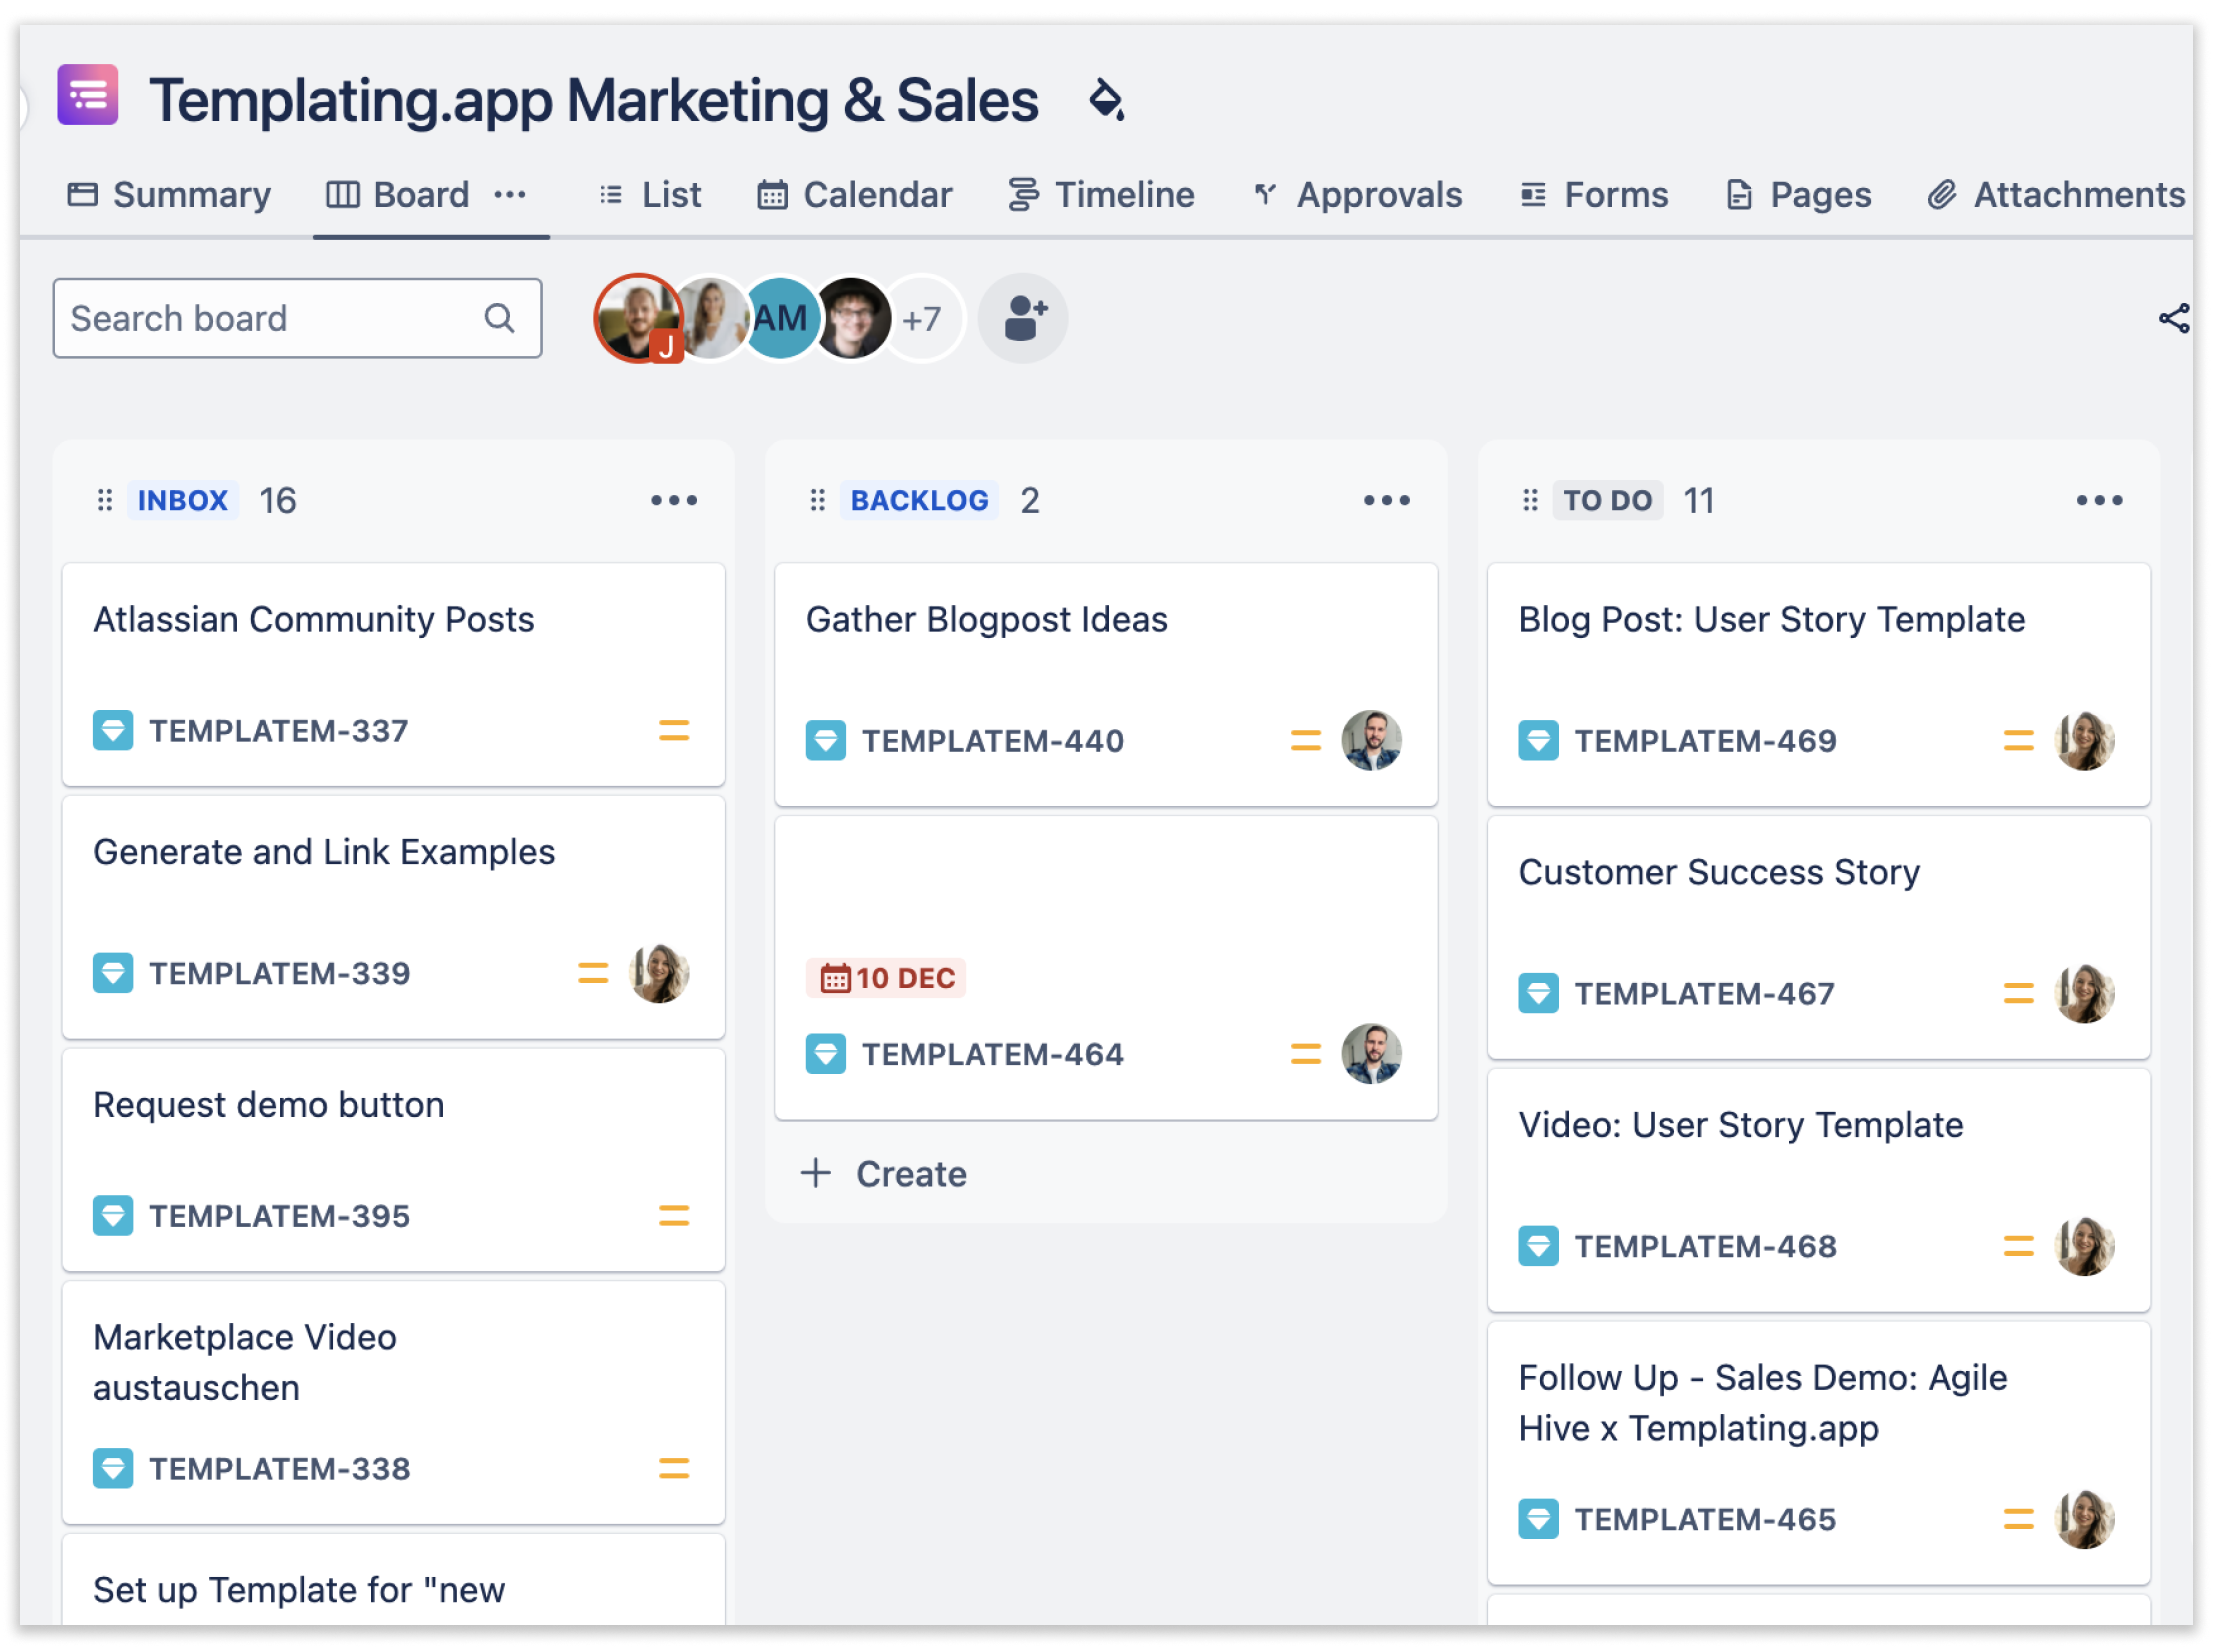
Create hierarchies of issues and subtasks with predefined templates. You can even define variables that your users can fill in. A powerful drag-and-drop editor is included.
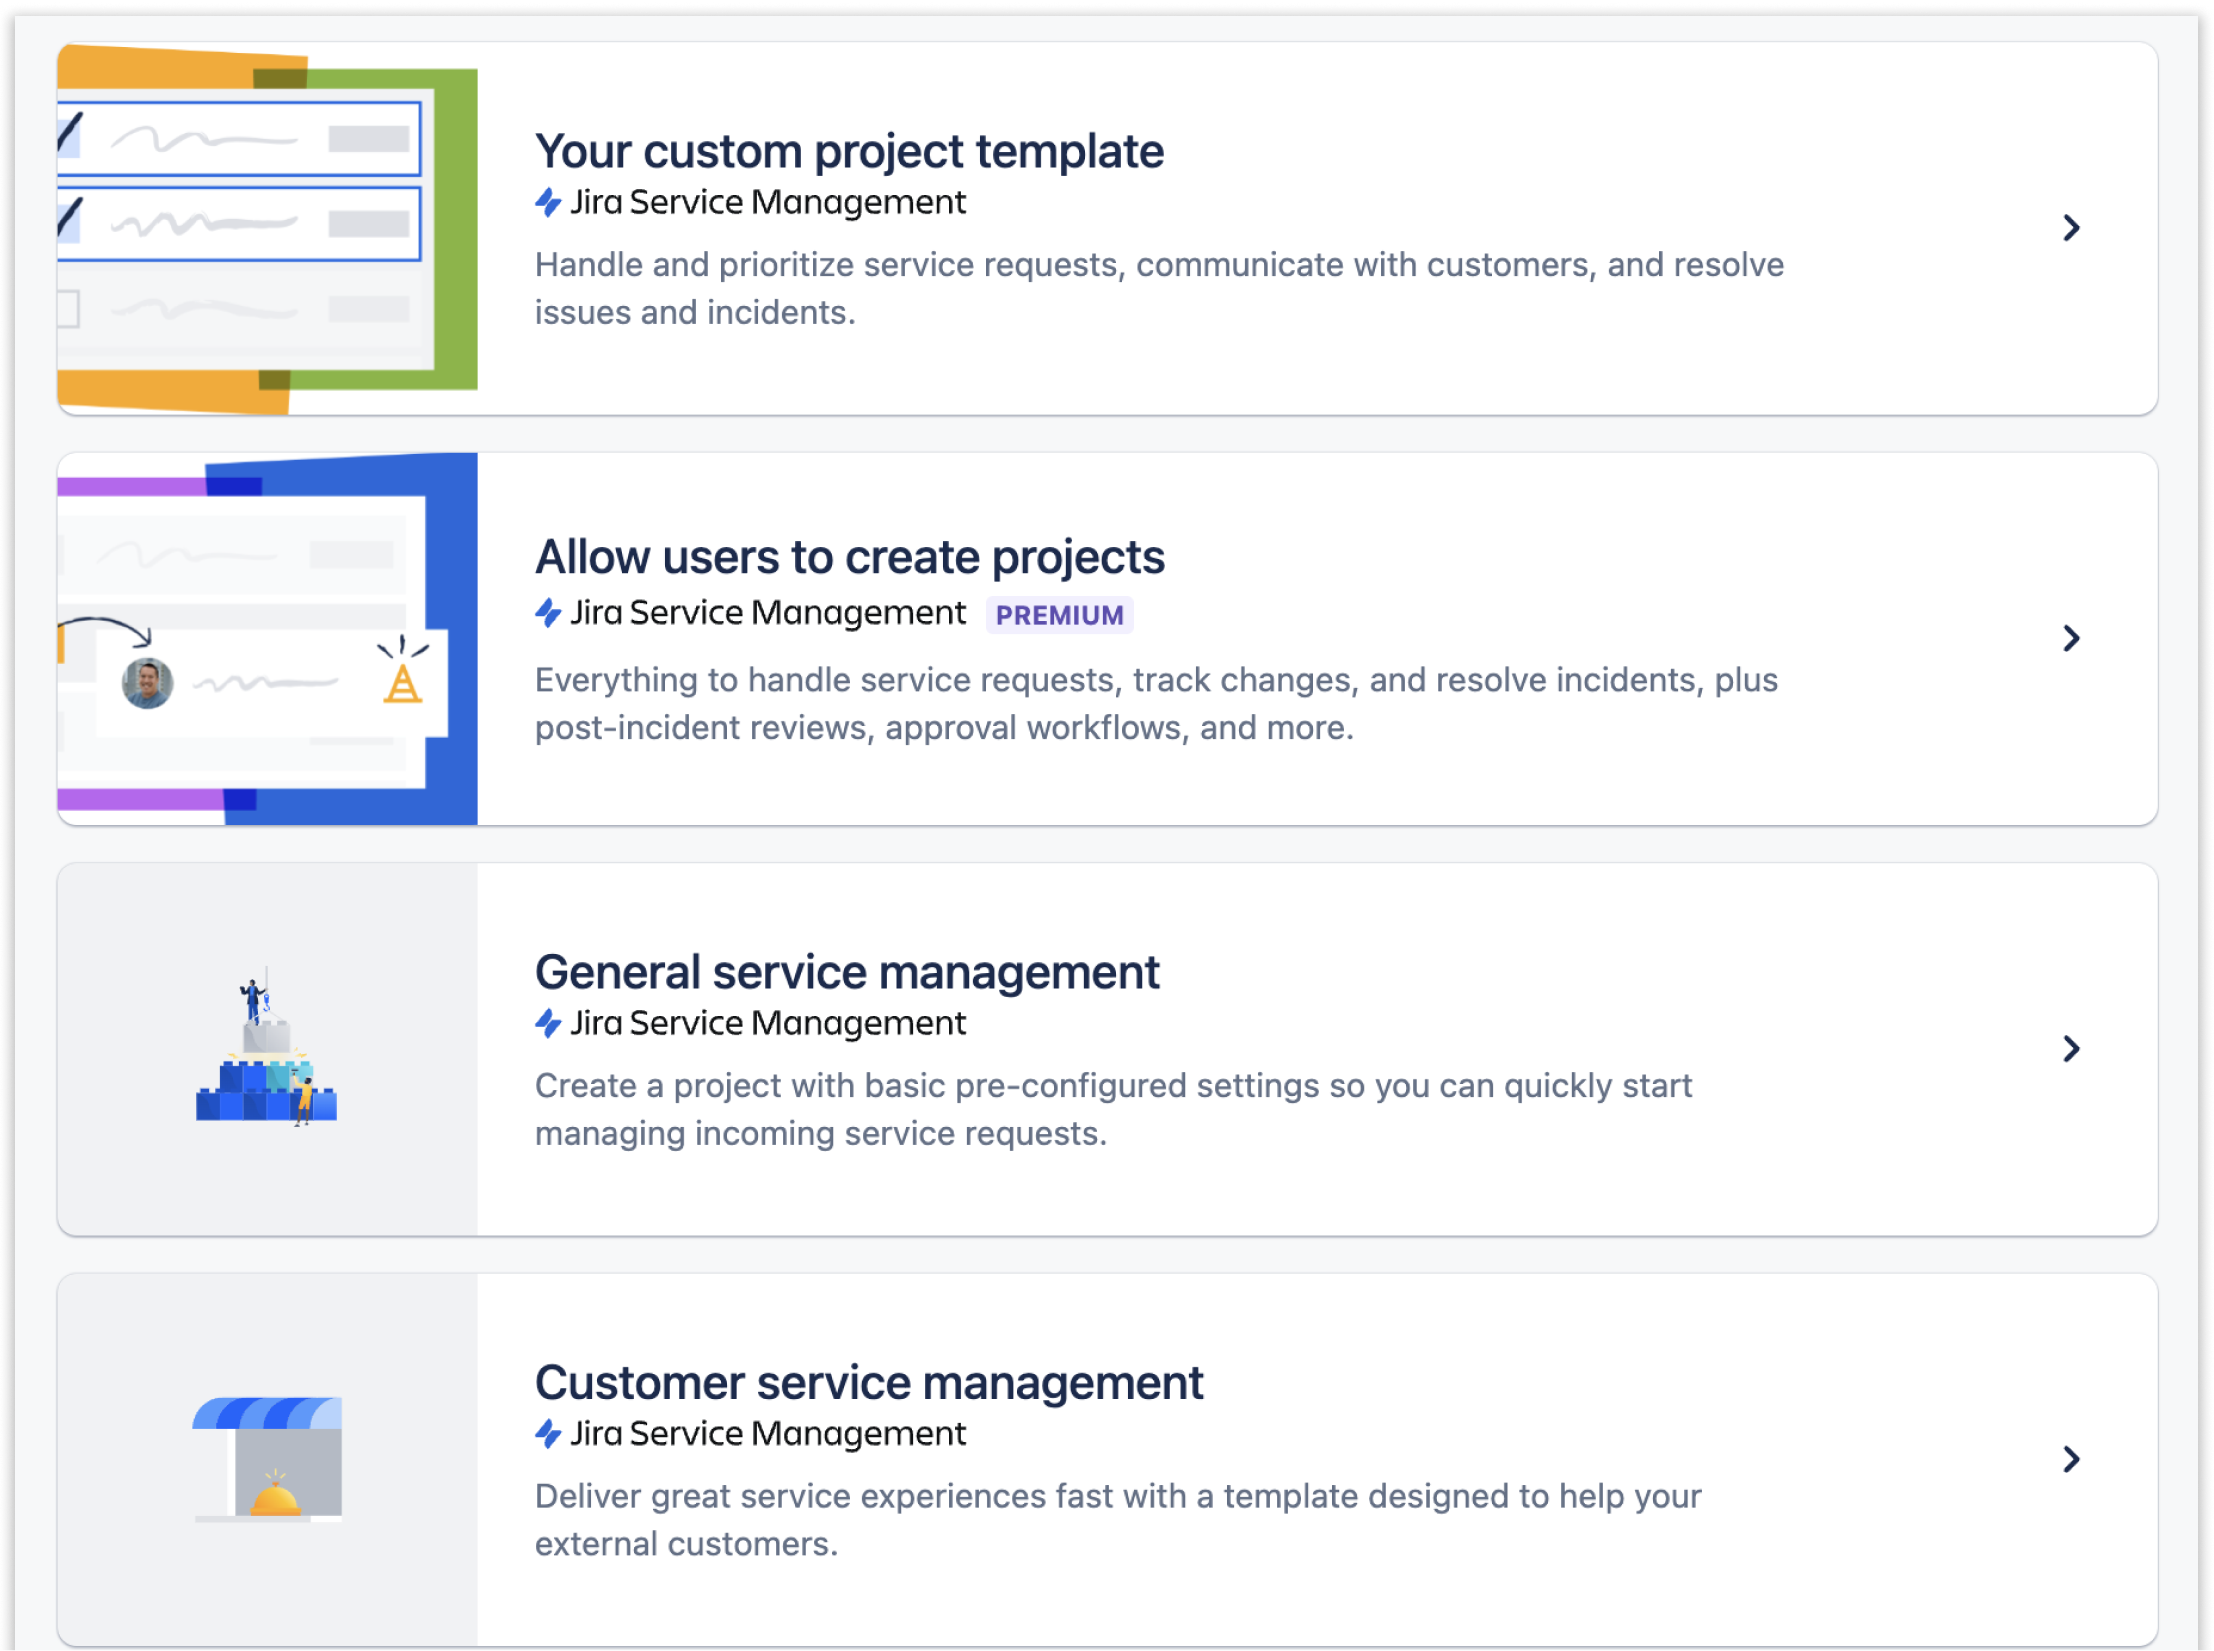
Enable users to create new projects based on predefined templates. No more scheme cluttering.
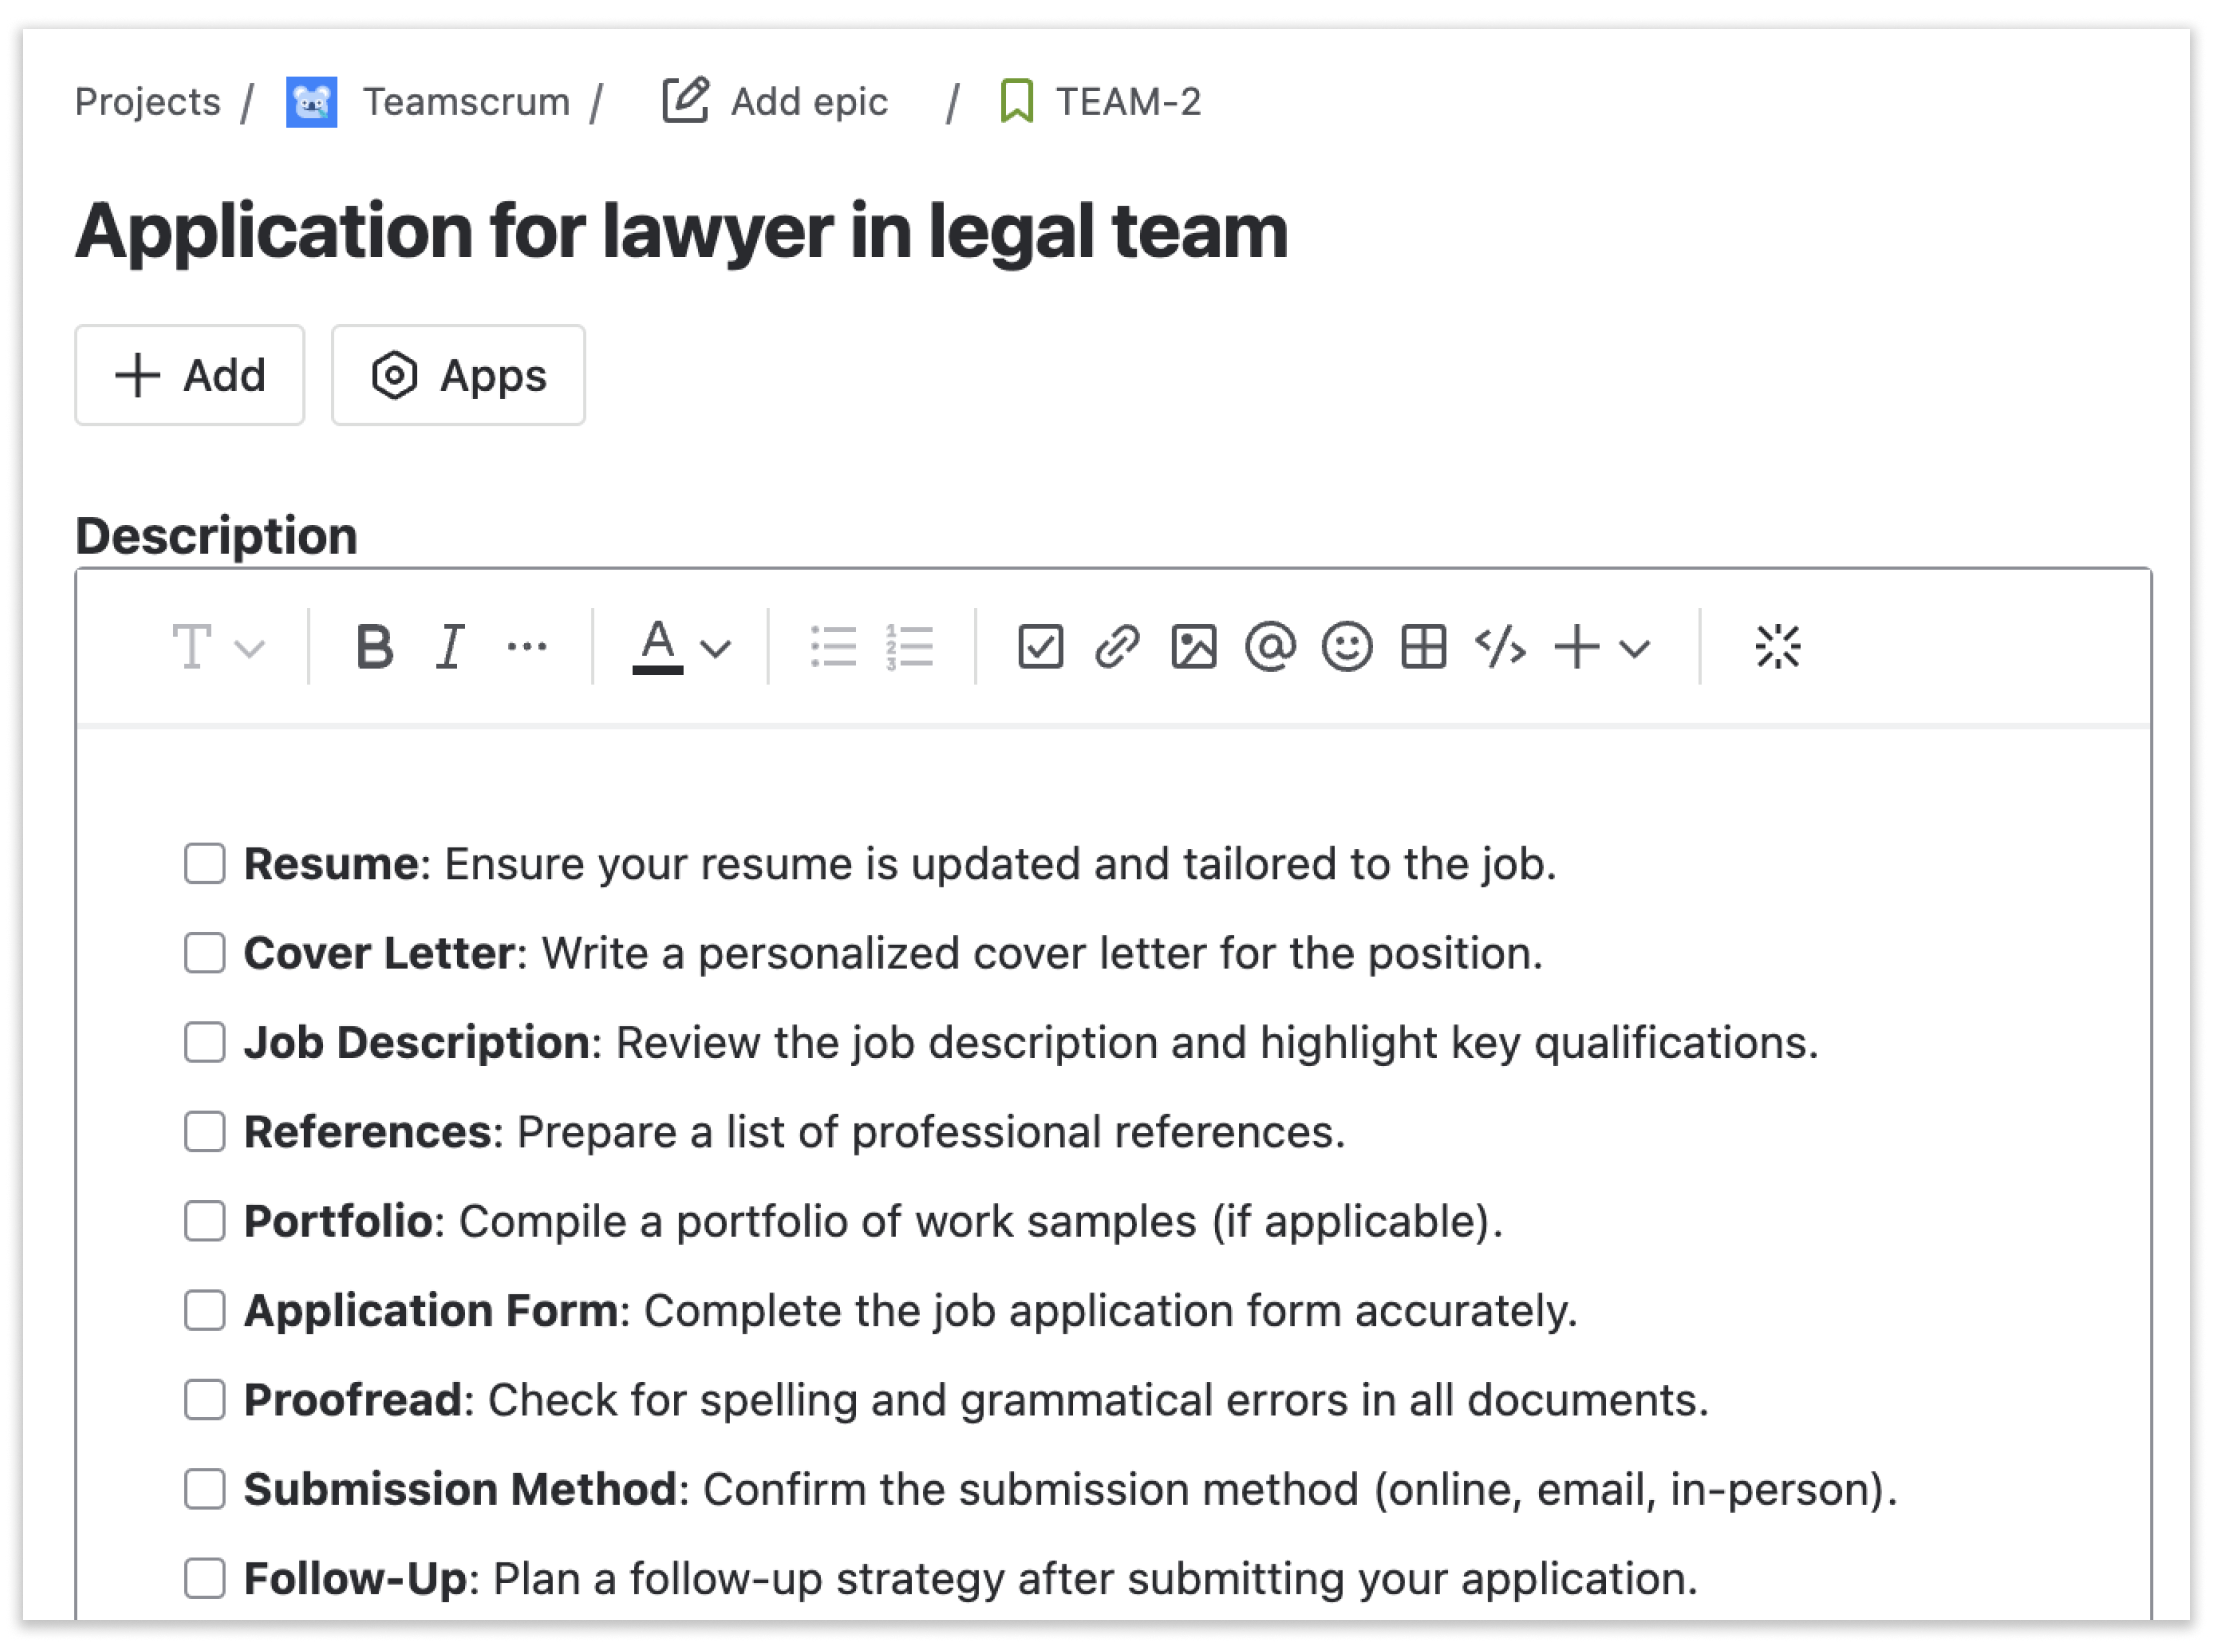
Full support for Jira's new action items. Either in issue templates or standalone.
Set-up a Jira board once and reuse it in other projects.
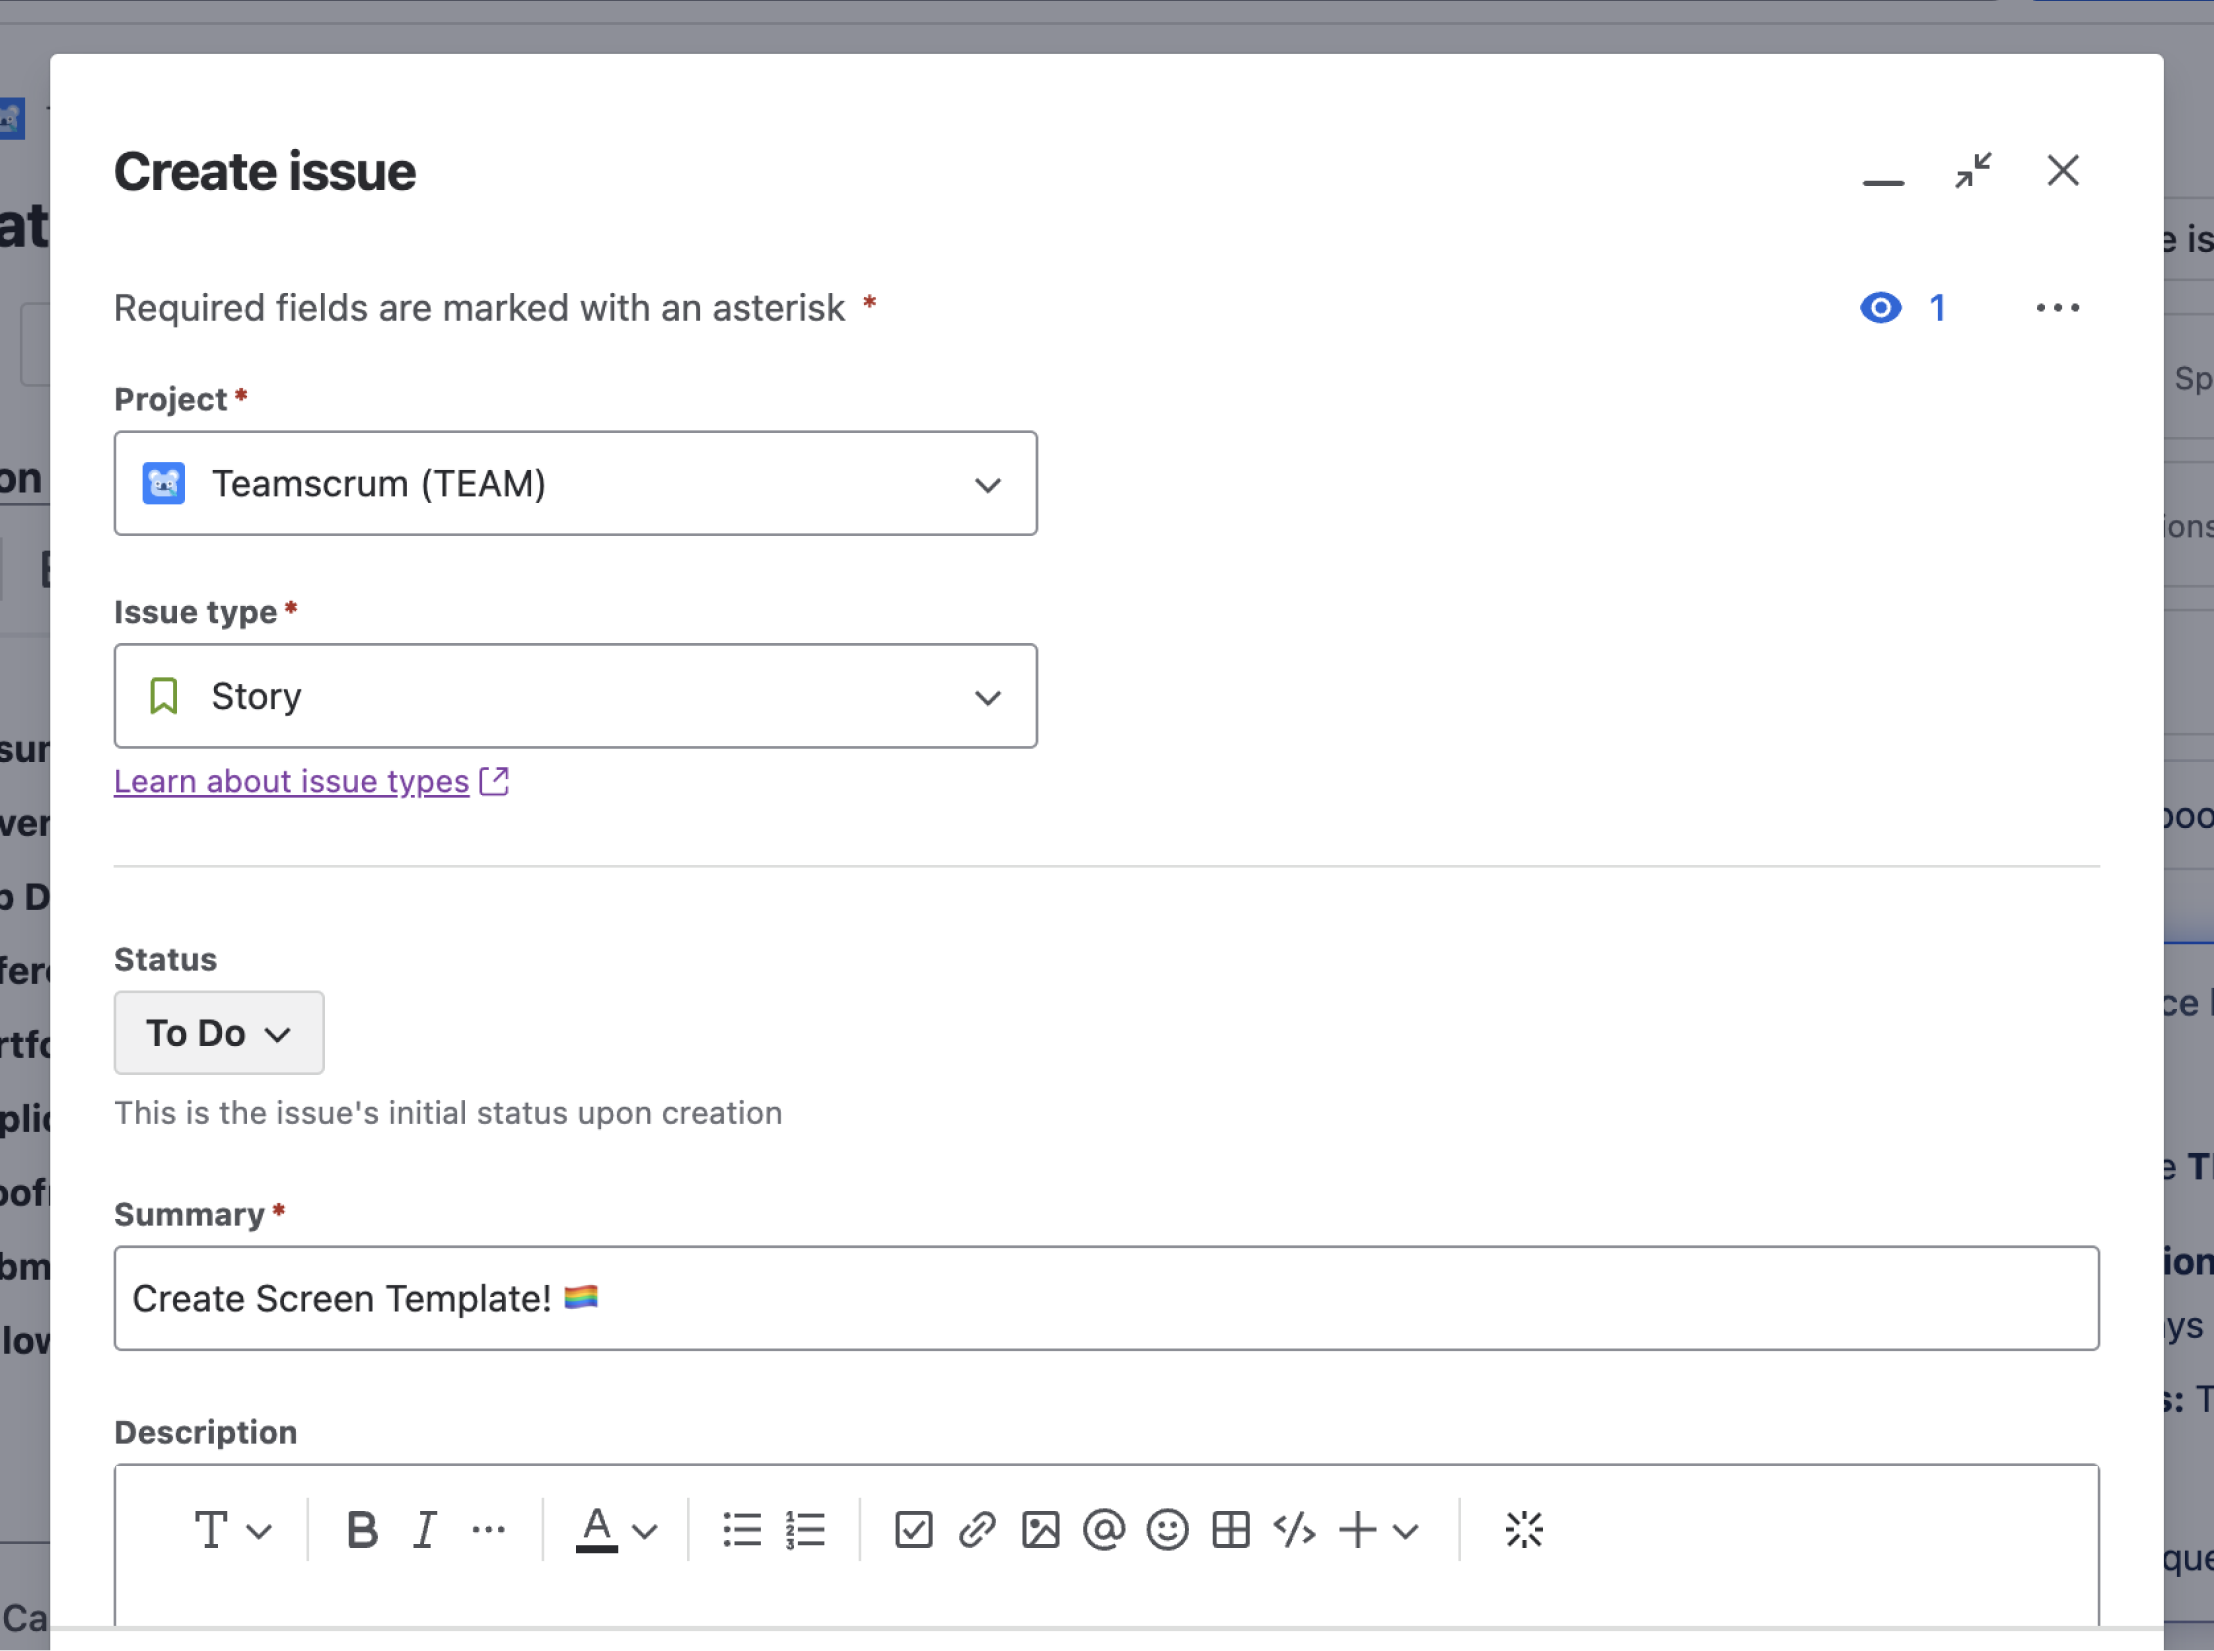
Prefill fields on the create screen with default values or even hide them.
Templating.app is part of the Seibert Group. We're one of the largest Atlassian Platinum Solution Partners .
We do not save any data. All processing is done on your Jira site. We're fully GDPR compliant.
The app has been the first Forge app on the Marketplace. It's Atlassian's gold standard for apps.
Did you know that Seibert Group has over 500 employees? We're here to help you with any questions you might have.
We have over 800 happy customers using our app. We're proud of our 4.9 star rating on the Atlassian Marketplace.
Let us know if you miss a functionality. Many features have been implemented for customers. Just drop us a message.
We're constantly improving the app. Expect multiple improvements every month! We also ensure compatibility with new Jira versions.

